Recently I was asked to make a tutorial on water rendering, so I spent some time making one. It’s not exhaustive; It’s mainly aimed at rendering drops and streaks of water, but I think that’s usually what people mean when they ask about this. If you want to convey sweat, or like the character is in a shower or at the beach in the water, then this is how I do it.
It’s not very complicated, but it does have a few moving parts. And I will assume you know some digital art program basics: how to use different layer modes, how clipping layers work, and how masks work. It doesn’t really matter what software you do this on. My examples here are from Clip Studio, but the features required are universal.
Okay, let’s get started!
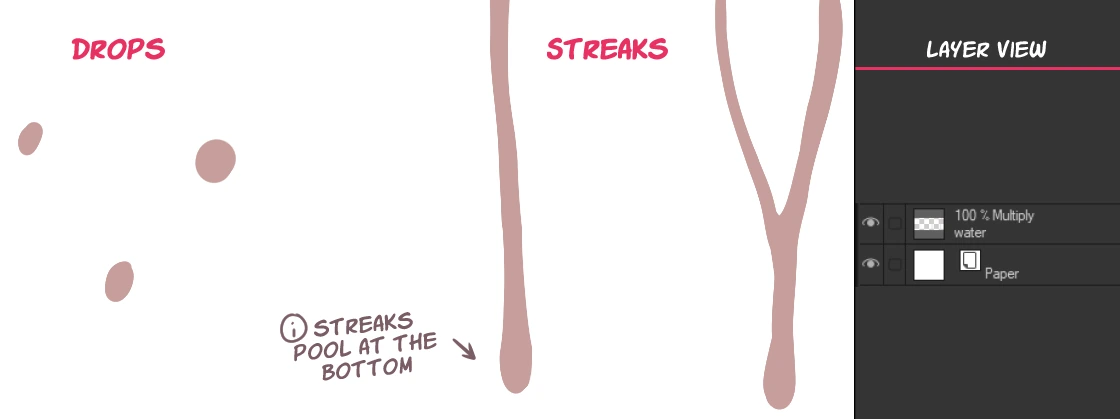
First, make a new layer and turn it to multiply mode. You want to lay down the shapes of the water first. For drops, simple ovals is all you need. For streaks, you want sort of wavy strands that culminate in thicker bulbs at the end. You can also have strands merge like you see on the example on the right. Play around with it, and you’ll get a feel for it. As for how many of these you need to do, I personally find that you can get away with just a few drops and streaks here and there and it’s enough to convey that the skin is wet. Experiment and see what feels good to you.
I like to pick a desaturated red color for this since it tends to go well on top of skin tones. The exact color doesn’t matter much now since we’re going to tweak it later, so just pick something you can see well.
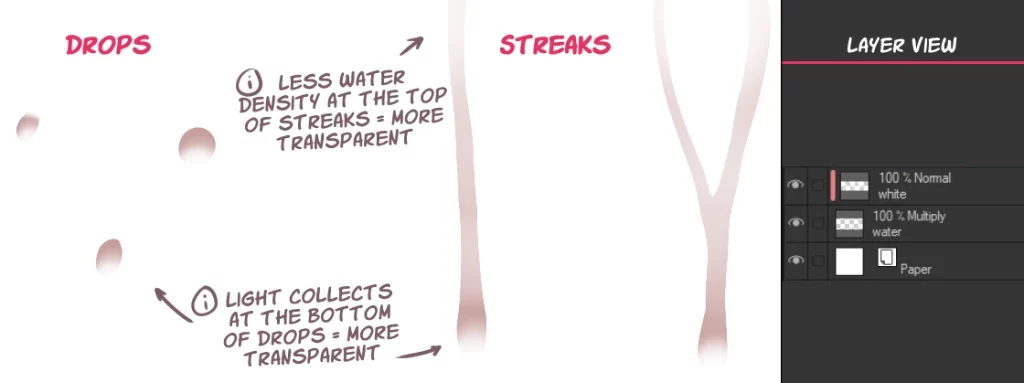
Step 2, our goal is to emulate the light collecting and refracting off the bottom of drops of water, and also to convey the thinning out of water in streaks. You can imagine that as water travels down a streak, the top of the stream becomes less and less dense. We’re gonna achieve both things in one go.
First, make a new layer and clip it to our base multiply layer. Then, pick a soft airbrush-like tool and the color white, and paint over the areas pointed out above. Because of how multiply layers work, if you paint with white then you’re essentially making it transparent. So we’re going to make these areas transparent – the ones where light collects, and where it’s less dense.
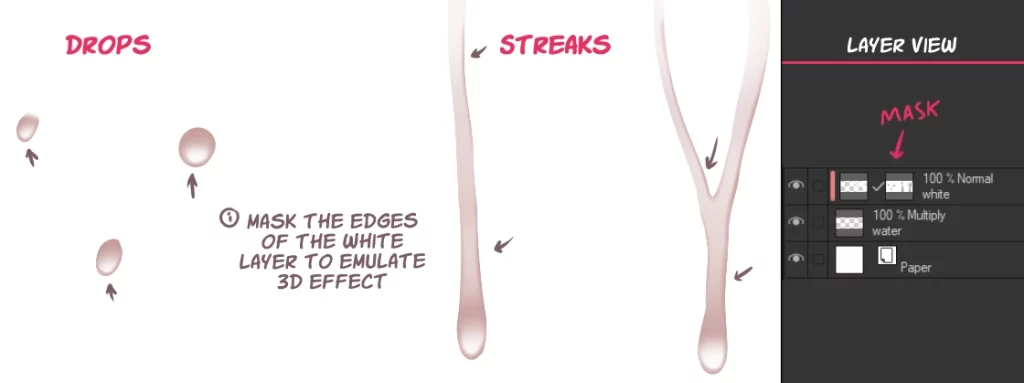
Step 3. This could be considered optional, but I like to do it, as it gives the water a nice 3D effect. Make a mask on the white layer from step 2, and erase around some of the edges. Doesn’t that pop out a lot more?
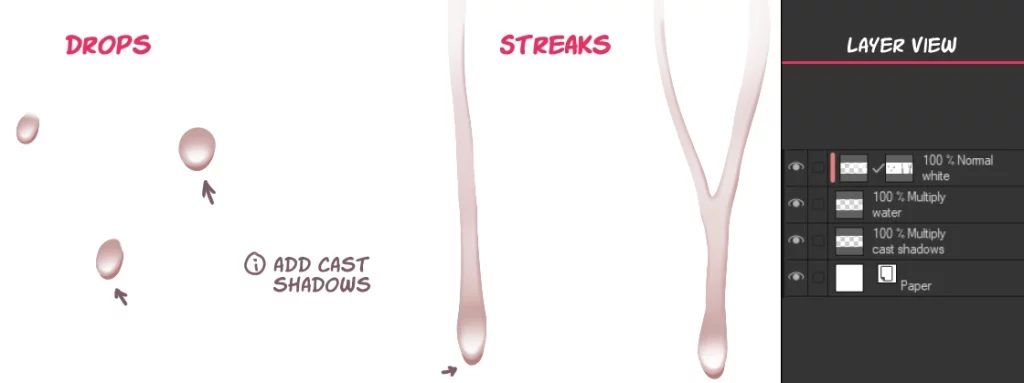
Another somewhat optional step, but that adds to the effect: cast shadows. You can imagine that because these drops of water have volume, they also cast shadows. In order to have your cast shadow not go over the drop of water, you can select it by ctrl+clicking the layer thumbnail – this should work on both Clip Studio and Photoshop – and then inverting the selection. Now anything you paint will be outside of the water you previously drew. I like to set these to multiply mode too, and same color, or a little darker.
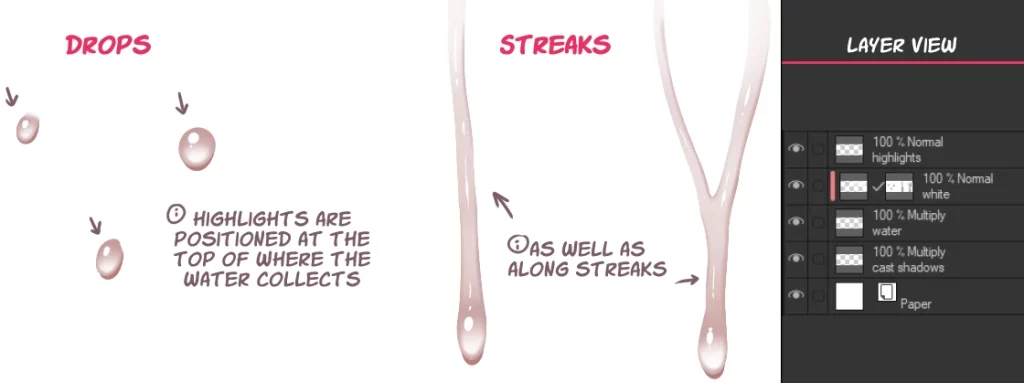
This is where everything comes together. It’s time for highlights! Highlights are a bit of an iffy science, and I don’t have any great tips for doing them on streaks. It’s just sort of monkey see / monkey do kinda thing, until you get an intuitive feel for it. But doing it on drops is easy-peasy. Just simple dots on the top and you’re good.
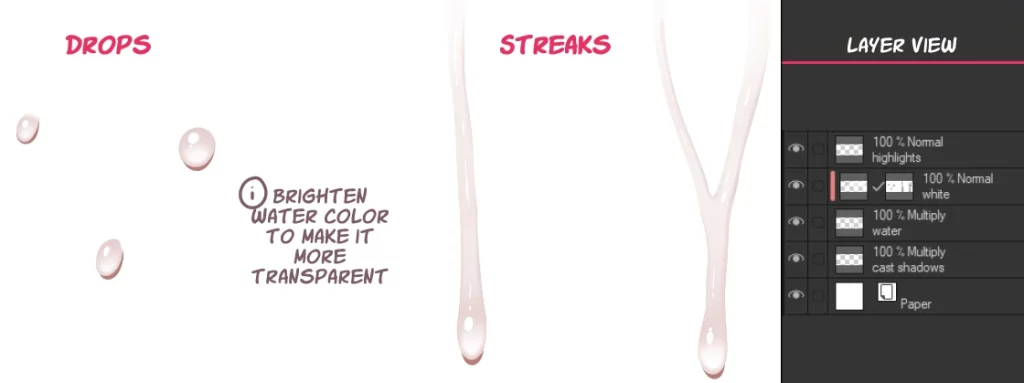
We’re pretty much done here. Now it’s just tuning. The first bit of tuning I do is I make the water layer’s color brighter, so it becomes more transparent. I do it intentionally darker at first so it’s easier to lay down the shapes, but in the end water is fairly transparent, so you want to make it brighter / close to transparent so it’s subtle.
The other bit of tuning I tend to do is I resize the drops of water to be smaller. I like to draw them big so they’re easy to work with, and then make them small at the end. For this, select all the layers, then lasso individual drops and resize them.
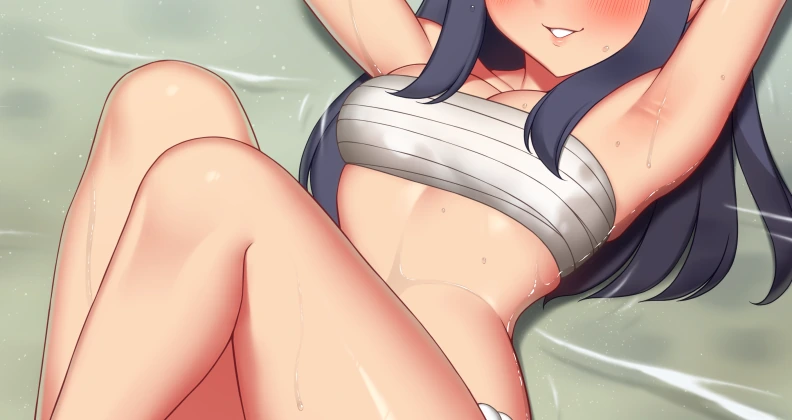
And we’re finished! Now you know how I do my drops of water. You can put these on not just skin but other surfaces too. Below are some assorted applications of this technique from pieces I’ve made.
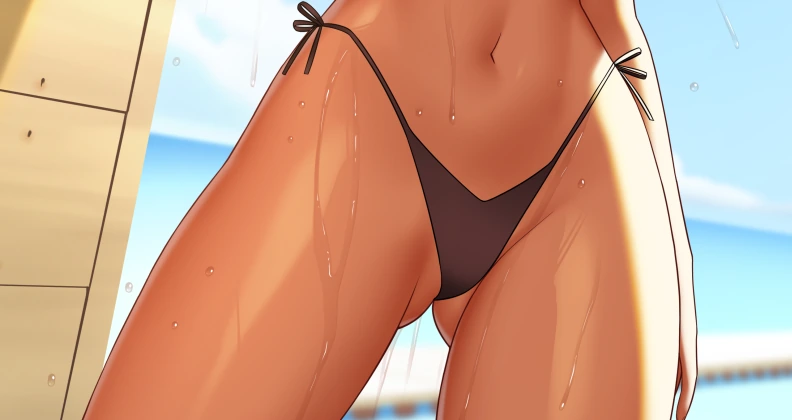
(Piece: Akari)
(Piece: Veleni)
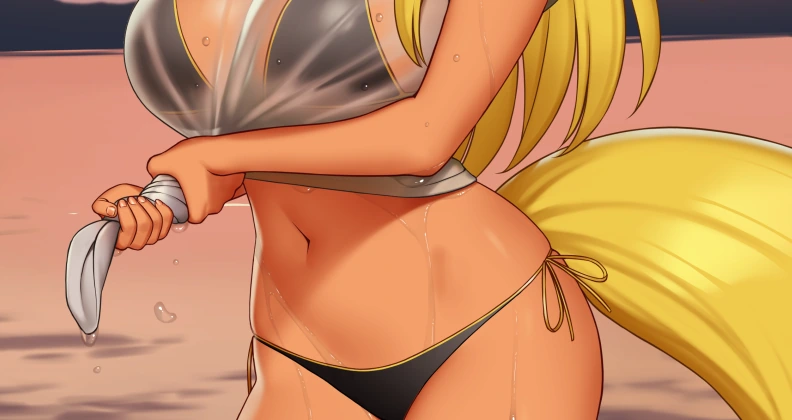
(Piece: Tamamo)
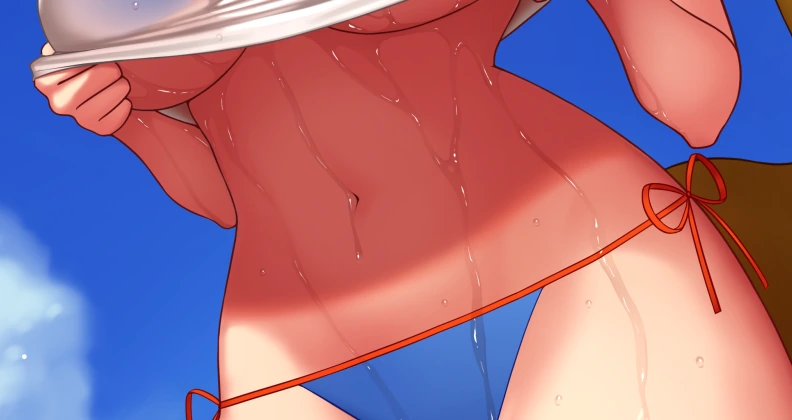
(Piece: Julie shower)
I hope that was helpful. If you have any questions, let me know! :>